UGC tab
The UGC tab replaces the textures behind every piece of user-generated content the game lets you draw, that’s face paint, custom clothing, custom food, custom treasure, interiors, exteriors, map objects, and landscaping. The image data for those items isn’t inside Player.sav, it sits in the Ugc/ folder next to your saves as .canvas.zs and .ugctex.zs pairs, and that’s what this tab edits.
The tab needs the Ugc/ folder loaded. If you only dropped Player.sav, the tab will tell you so and you can attach the folder from there, see Loading saves for how the folder gets picked up.
You must first create a UGC slot in-game, even a blank one, before the editor can replace it. If a slot doesn’t exist yet, it won’t show up here.
Loading the Ugc folder
Section titled “Loading the Ugc folder”The bar at the top of the tab shows whether a Ugc/ folder is attached. No Ugc/ folder loaded in orange means nothing is staged, N file(s) loaded means the editor has the textures in memory.
- Pick Ugc folder opens a folder picker, point it at the
Ugc/subdirectory of your save. - Pick zip loads a zip of the
Ugc/folder, same contents either way. - Clear drops everything currently loaded.
The folder is shared with the ShareMii tab, loading it on either tab makes it available on both.
Kind tabs
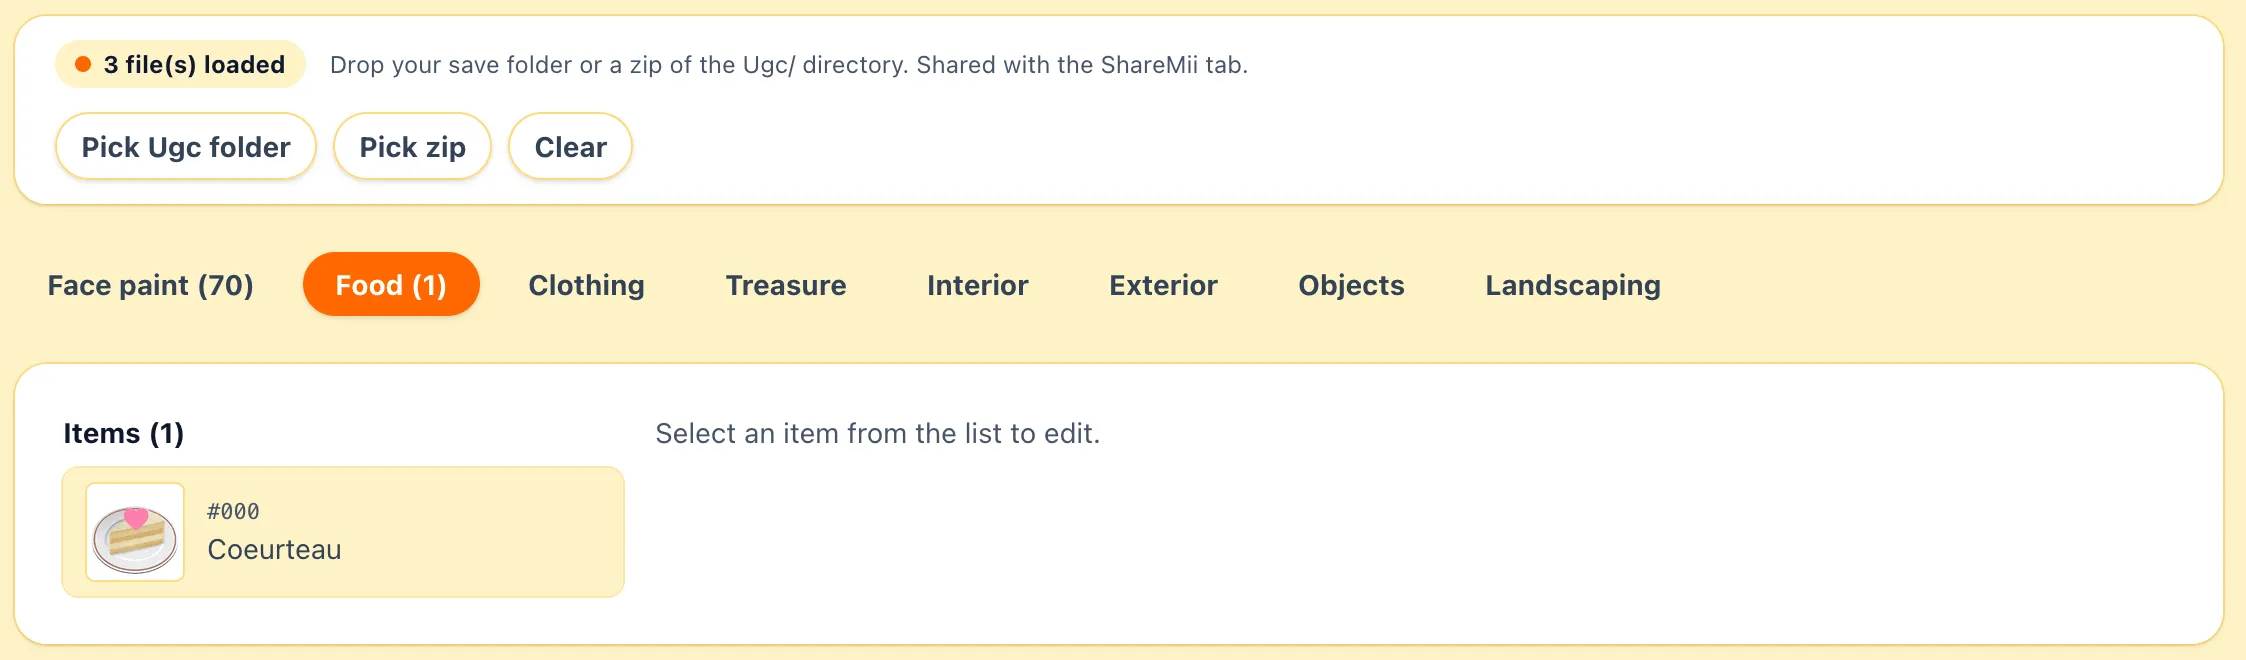
Section titled “Kind tabs”Across the top of the tab are sub-tabs for each kind of UGC: Face paint, Clothing, Food, Treasure, Interior, Exterior, Objects, and Landscaping. Each tab shows the slot count next to its name when there’s content, so you can see at a glance where your custom items live.
The tab opens on Face paint by default, if there’s no face paint it falls through to the first kind that has something in it.
Face paint
Section titled “Face paint”The Face paint tab is the makeup layer painted on individual Miis. With Player.sav and Mii.sav both loaded, each slot reads as Worn by name for the Mii currently wearing it, or Unassigned when nobody has it on.
The editor flow is the same as the other kinds, see Replacing a texture below, the only difference is there’s no name field, face paints aren’t named in the save.
Picking a slot
Section titled “Picking a slot”Below the kind tabs, the left column lists every slot in the current kind, labelled with the name you gave it in-game or Item N when the slot has no name. A small badge marks edited slots so you can see what’s already been changed in this session.
Pick a row to open the editor on the right, the slot stays selected if you switch kinds and switch back.
Replacing a texture
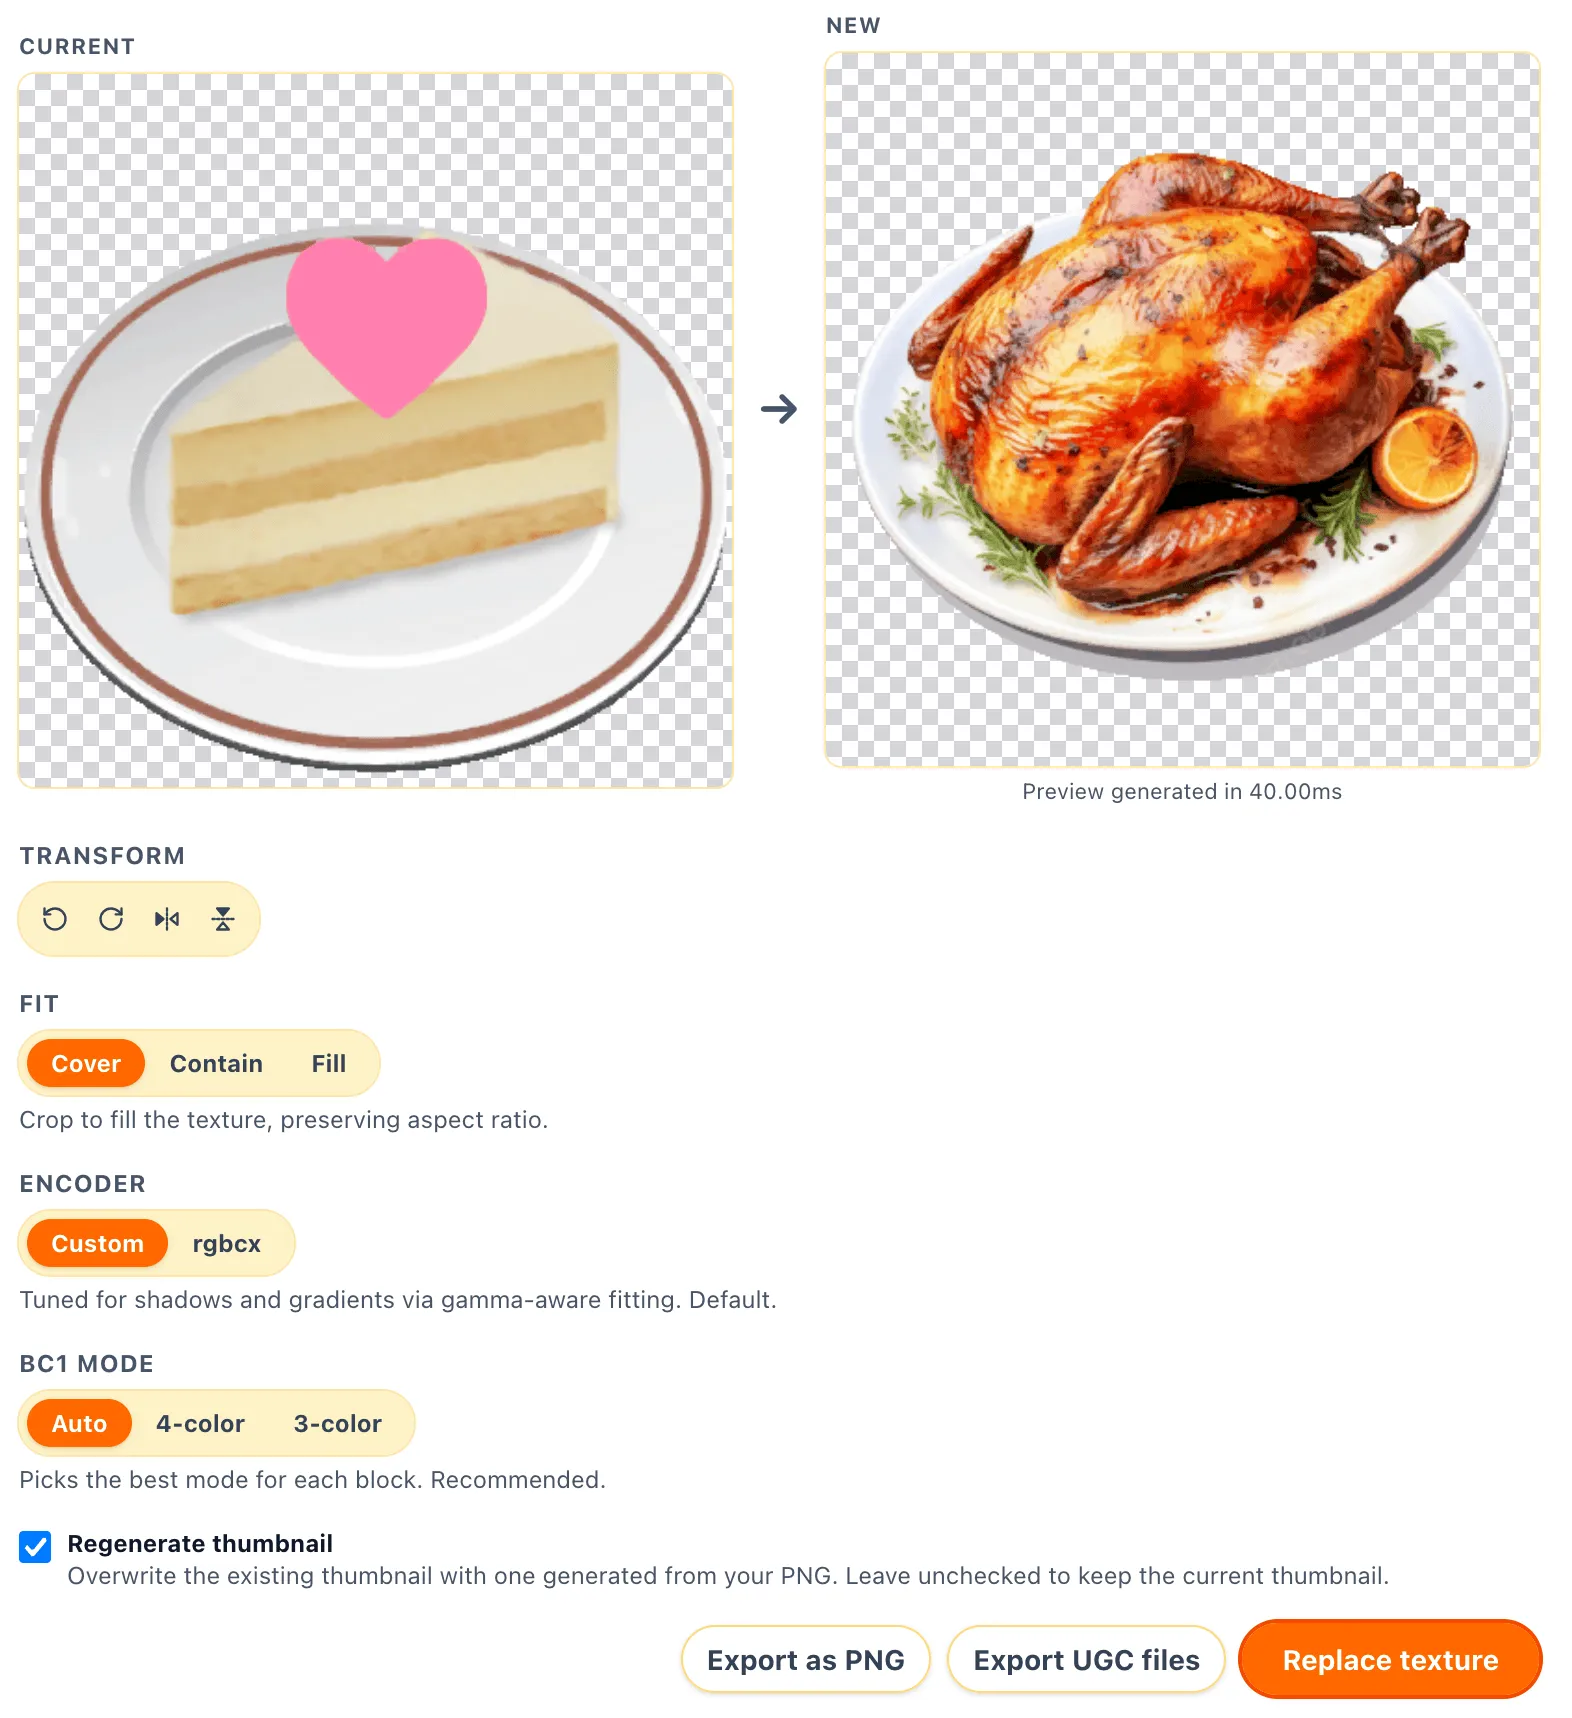
Section titled “Replacing a texture”Selecting a slot opens the per-slot editor. The headline view is two square previews side by side, Current (what’s in the save right now) on the left and New (your replacement) on the right.
Renaming
Section titled “Renaming”The Name field at the top renames the slot, click Rename to modify. The name is stored in Player.sav, so you’ll only see this field when Player.sav is loaded. The face paint tab doesn’t have a name field.
Picking an image
Section titled “Picking an image”Click the New square (or drop a file on it) to load a PNG, JPG, or WEBP from disk. The editor decodes it, fits it to the slot’s texture size, and re-encodes it as BC1 in the same .ugctex.zs format the game uses. The new preview shows what the texture will look like after encoding.
Transform
Section titled “Transform”Four buttons rotate left, rotate right, flip horizontally, and flip vertically. They apply to the loaded image and update the preview live.
How the source image is mapped onto the texture’s aspect ratio:
- Cover crops the image to fill the texture, preserving aspect ratio. This is the default.
- Contain fits the whole image inside, leaving transparent edges.
- Fill stretches the image to fill the texture, ignoring aspect ratio.
Encoder
Section titled “Encoder”Two BC1 encoders are bundled:
- Custom is a custom made encoder tuned for shadows and gradients via gamma-aware fitting, default. It can be noticeably faster than rgbcx.
- rgbcx is Richard Geldreich’s reference encoder, higher overall quality but weaker on shadow detail.
BC1 mode
Section titled “BC1 mode”Only shown with the Custom encoder. Picks the BC1 block layout:
- Auto picks the best mode for each block. Recommended and will generally produce the best result.
- 4-color is sharper, transparent pixels are still preserved.
- 3-color is optimized for images with transparency, less color detail.
Background
Section titled “Background”Only shown when Fit is set to Contain, that’s the only mode that leaves gaps to fill. Pick Transparent, White, Black, or Custom color for the background of the image.
Regenerate thumbnail
Section titled “Regenerate thumbnail”When the slot already has a thumbnail file (.canvas.zs), the editor offers to overwrite it with one generated from your image. Leave it unchecked to keep the original thumbnail and only swap the texture.
Replace texture
Section titled “Replace texture”Replace texture at the bottom right encodes the image and stages the new .canvas.zs and .ugctex.zs (and thumbnail, if regenerated) into the loaded Ugc/ set. Nothing is written to disk yet, the staged files show up in the Download pending counter at the top.
Downloading edits
Section titled “Downloading edits”The orange Download N edited file(s) as zip bar at the top of the tab writes every staged UGC file to your Downloads folder as UGC-edits.zip. Unzip the contents back into your save’s Ugc/ folder, overwriting the originals.
If you also changed names, Player.sav must also be updated.
Per-slot actions
Section titled “Per-slot actions”The buttons at the bottom right of the editor are:
- Revert appears once a slot has been edited in this session. It restores the staged files for that slot to whatever was originally loaded.
- Export as PNG writes the current texture out as a PNG to your Downloads folder, useful for grabbing an existing custom design to remix.
- Export UGC files writes the slot’s raw
.canvas.zs/.ugctex.zs/ thumbnail as a zip.
Both export buttons need a Ugc/ folder loaded, there’s nothing to export from without one.
LAN restriction
Section titled “LAN restriction”Items received over local wireless are flagged in Player.sav and the game won’t let you share them again. When the selected slot has this flag set, a LAN restriction card appears with a Clear restriction button that removes the flag so the item can be shared.
This field is on Player.sav so the button is only available when the save is loaded.
Editing without Player.sav
Section titled “Editing without Player.sav”You can drop just a Ugc/ folder without Player.sav and the tab will still let you swap textures. A small warning at the top reads Editing without Player.sav: some features may not be available., the things you lose without it are renaming, the LAN restriction control, and the slot names in the list, every slot reads as Item N instead.
This mode is mainly for editing UGC in isolation. If you want to write the changes back to your save, load Player.sav too.